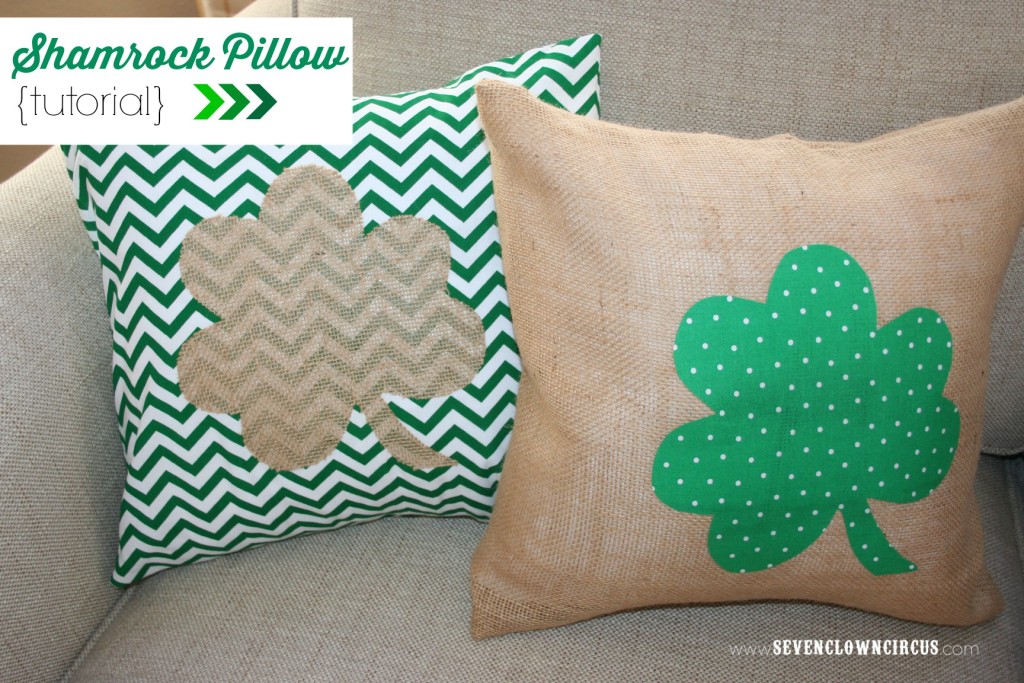
Making a St. Patrick’s Day Craft that is useful, pretty and decorative is easy as 1-2-3 with this Shamrock Pillow Tutorial for St. Patrick’s Day! You might already have all of the materials on-hand, it’s super inexpensive, and I guarantee it’ll bring a smile to your face. The best part is that you can make it in under 30 minutes and have the option to remove the pillowcase to change out the pillowcase for other seasons. Get into the spirit of St. Patrick’s Day with this fun pillow!
Materials Needed
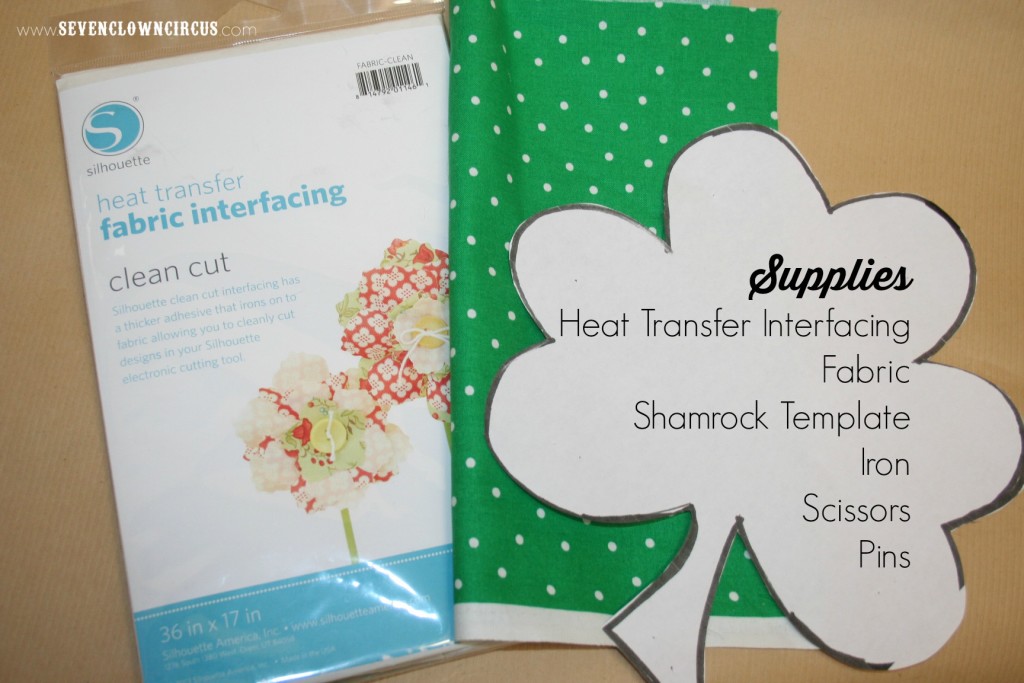
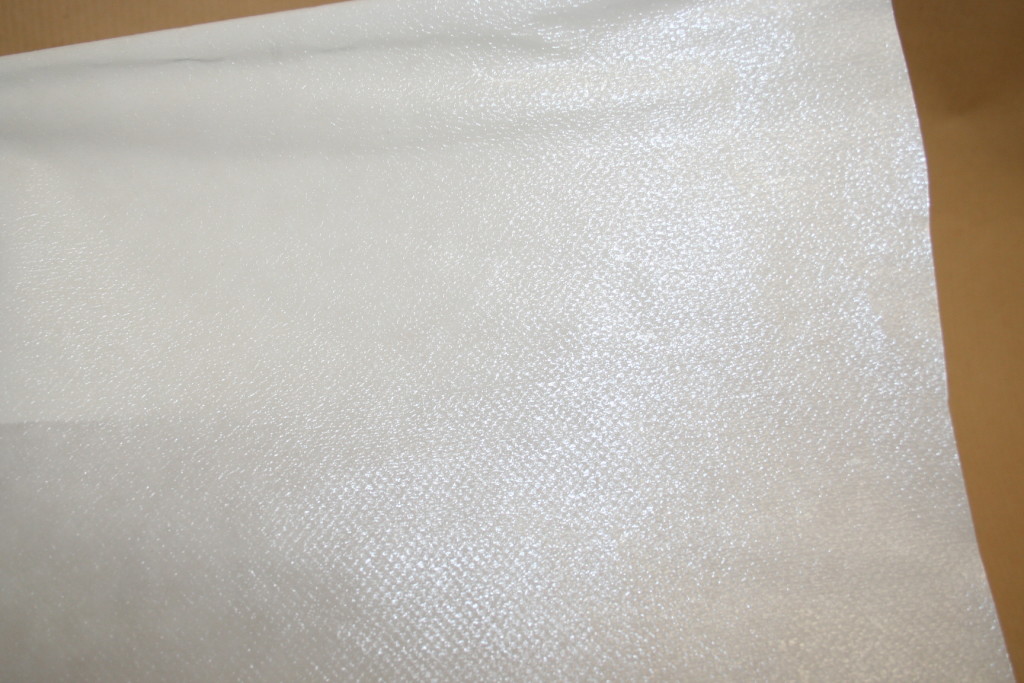
- Heat Transfer Fabric Interfacing
- Patterned Fabric
- Shamrock Template, enlarge to desired size (I enlarged to 8×10 for a 16×16 pillow)
- Pillow Form
- Iron
- Pins
- Scissors
- Sewing Machine
Instructions for Making Fabric Shamrock
- First off, let me tell you that I am definitely NOT a seamstress. I have limited skills! So, when I found this simple envelope pillow tutorial from Delia Creates I knew it was the one for me. Ok, time to get started. Cut out shamrock template. Cut heat transfer fabric interfacing approximately 1 inch larger in diameter than shamrock. Tip: If you have a die cut machine you can cut the shamrock on your fabric using the machine.

- Iron rough side of the fabric interfacing to the back side of the fabric.
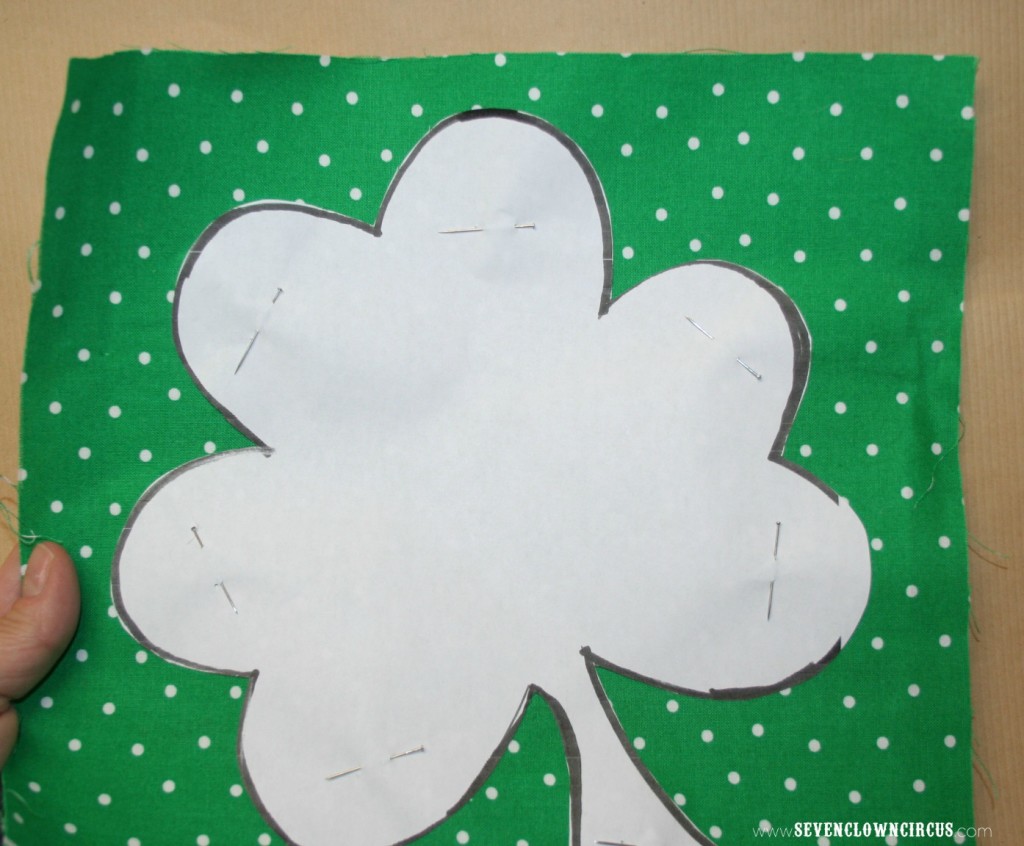
- Pin shamrock template to the fabric. Cut out shamrock.
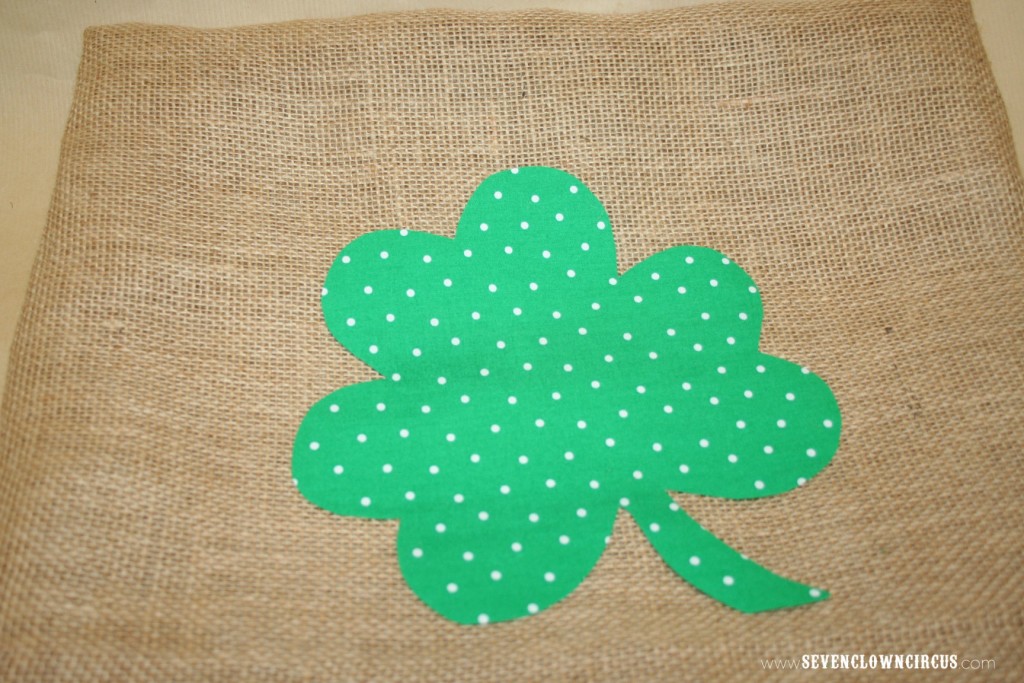
- Remove paper backing on the fabric interfacing. Position shamrock to desired location on pillowcase.
Assemble the Pillowcase

- Iron shamrock on pillowcase. You can carefully life the edges to make sure it adheres. Tip: Be careful when ironing on burlap pillowcase, the adhesive bled through the fabric shamrock. This didn’t happen on other fabrics. {{frown}}
- Voila! Add your pillow insert to your pillowcase. It is now ready to display and enjoy!
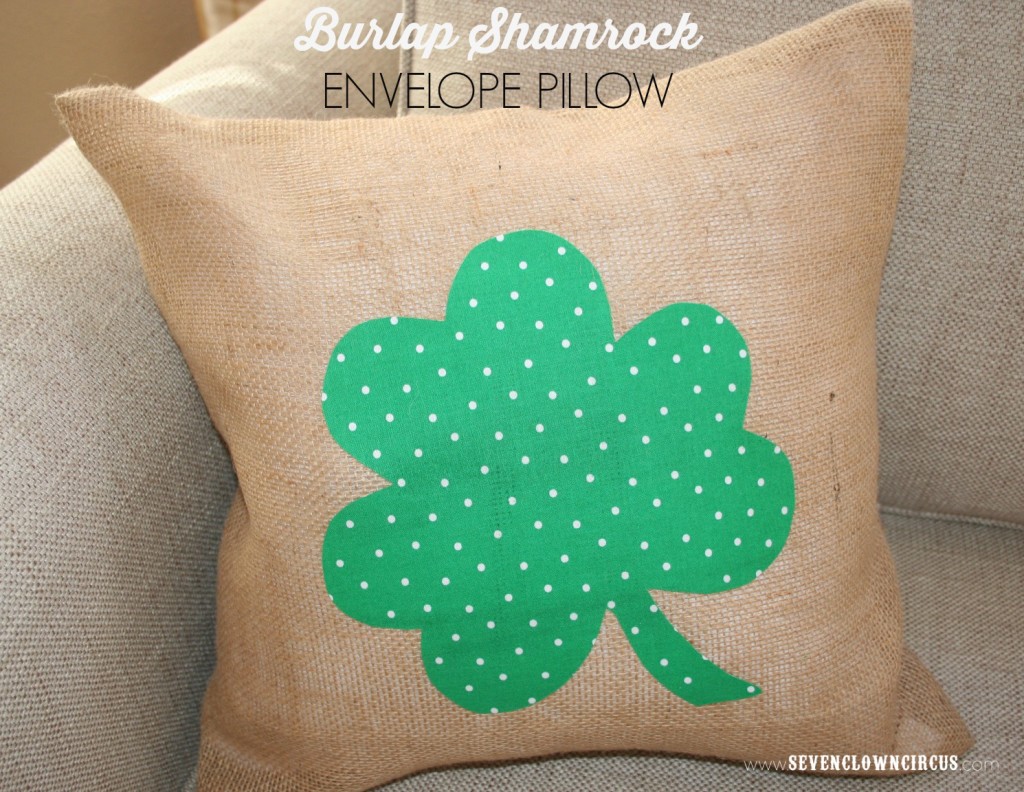

And that’s how I made an easy peasy Shamrock Pillow that’s the perfect accent for your St. Patrick’s Day celebration. Happy Crafting!